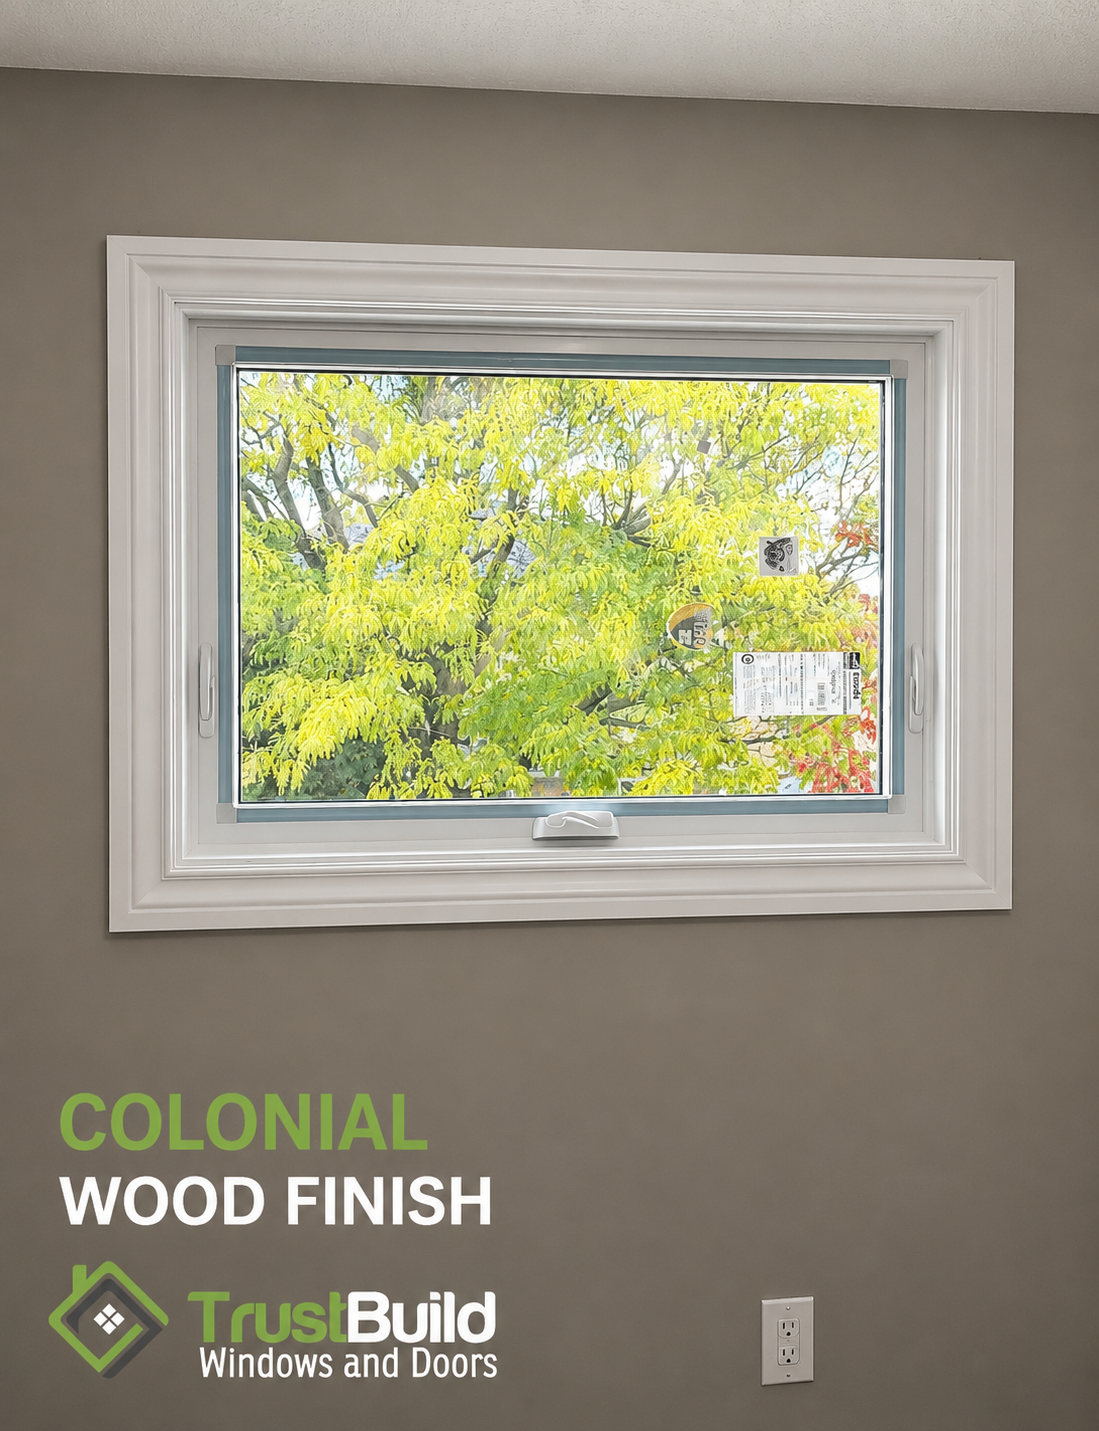
"Brick-to-brick" is the term most Ontario homeowners hear when they ask about a genuine window upgrade, rather than a patch job. It describes exactly what it sounds like: the installation goes all the way from the exterior brick opening back to the interior drywall, replacing everything in between rather than working around what's already there.
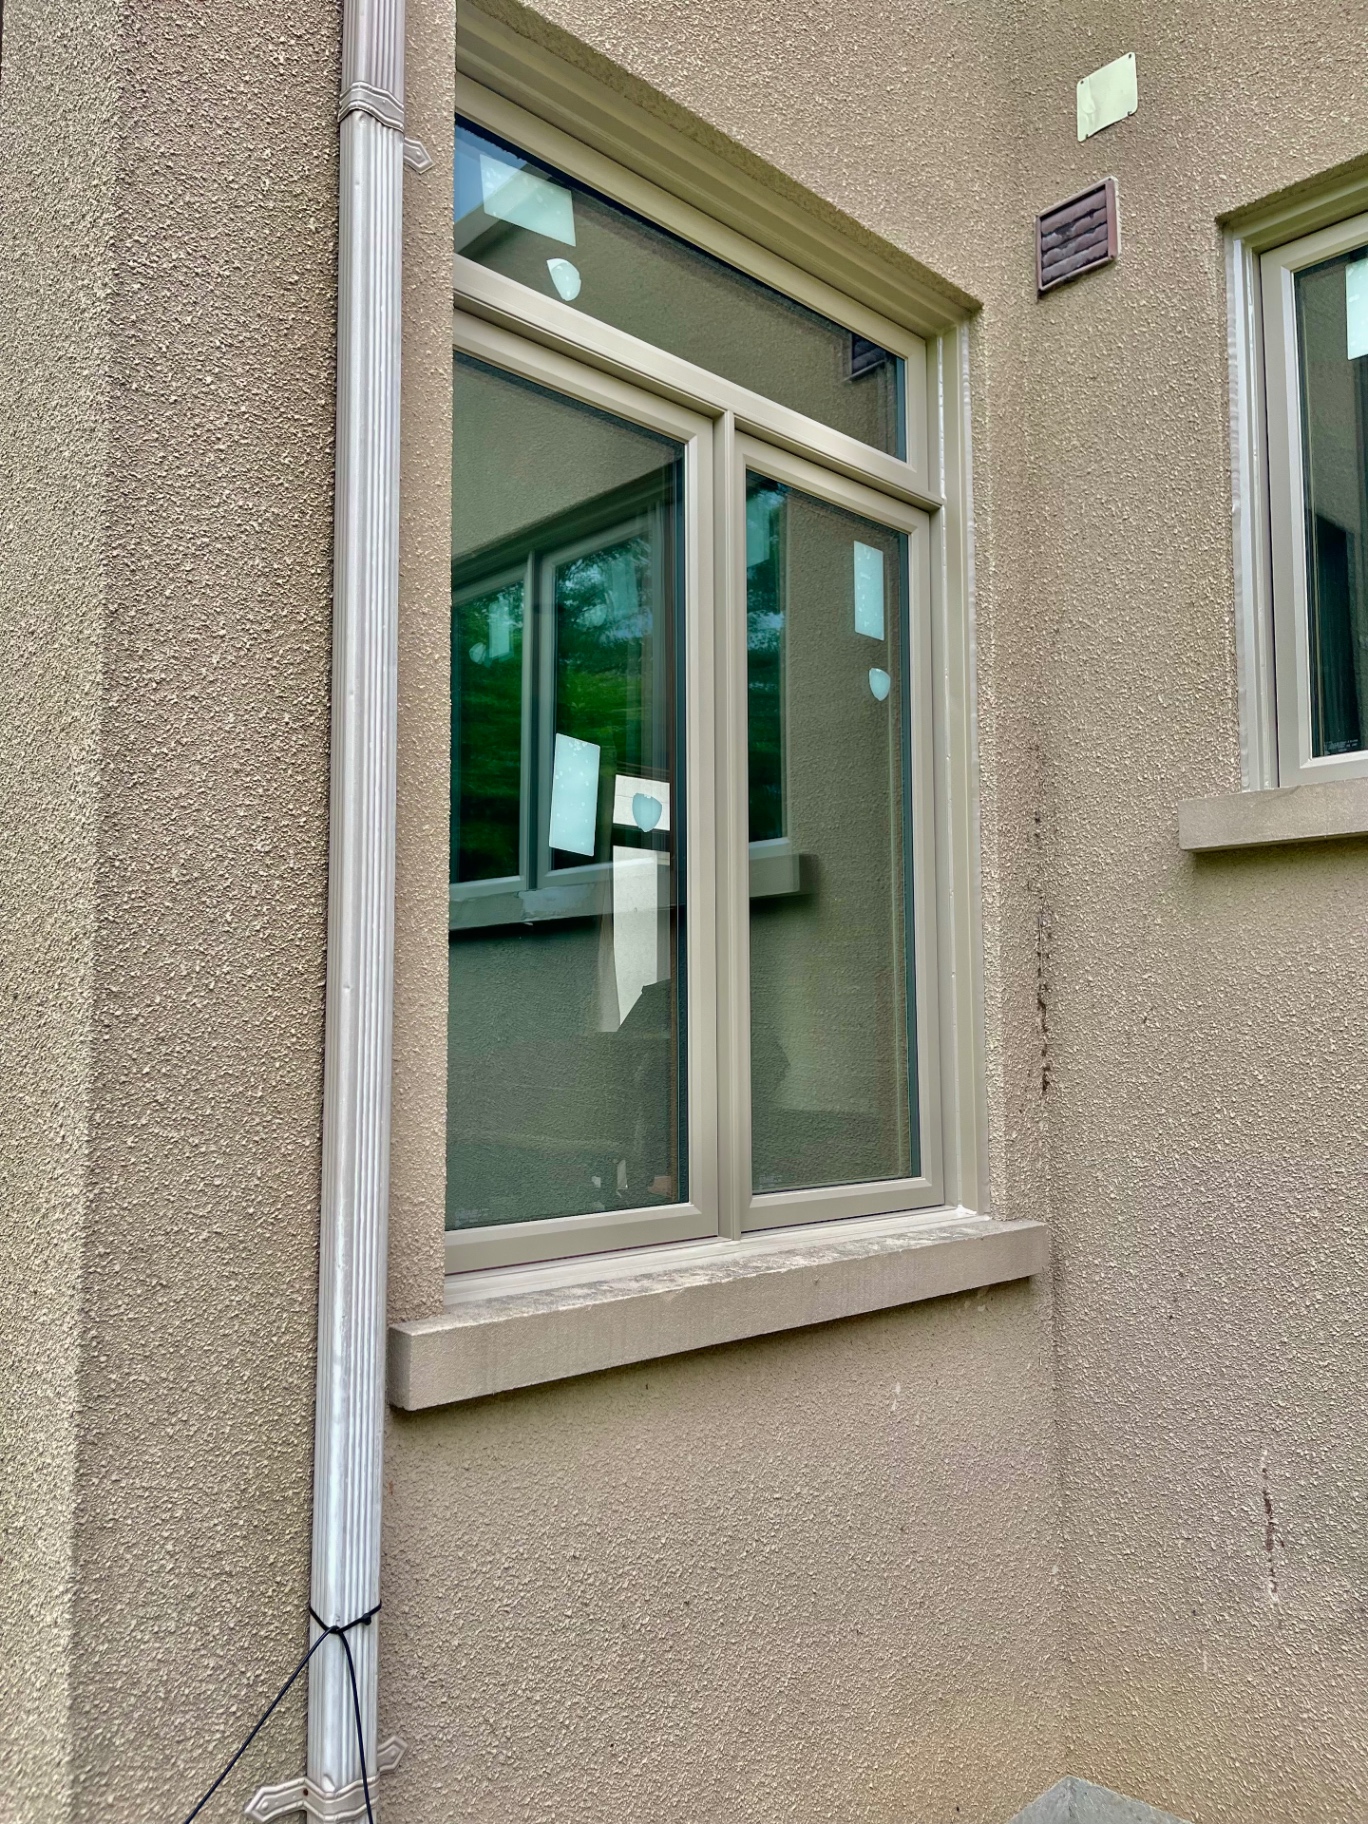
What actually gets replaced
Every component of the old window assembly comes out — the exterior brickmould, the window frame itself, the interior casing, and the jamb extension — exposing the full rough opening from the outer brick face through to the interior wall. Nothing from the original installation stays behind, which is exactly the point: it's a genuine reset rather than an upgrade layered on top of aging materials.
This matters most in two situations: when the existing frame is damaged or rotted and simply can't be worked around, or when a homeowner wants a completely fresh result — inside and out — rather than a visible mix of new glass and old surrounding trim.
The installation process
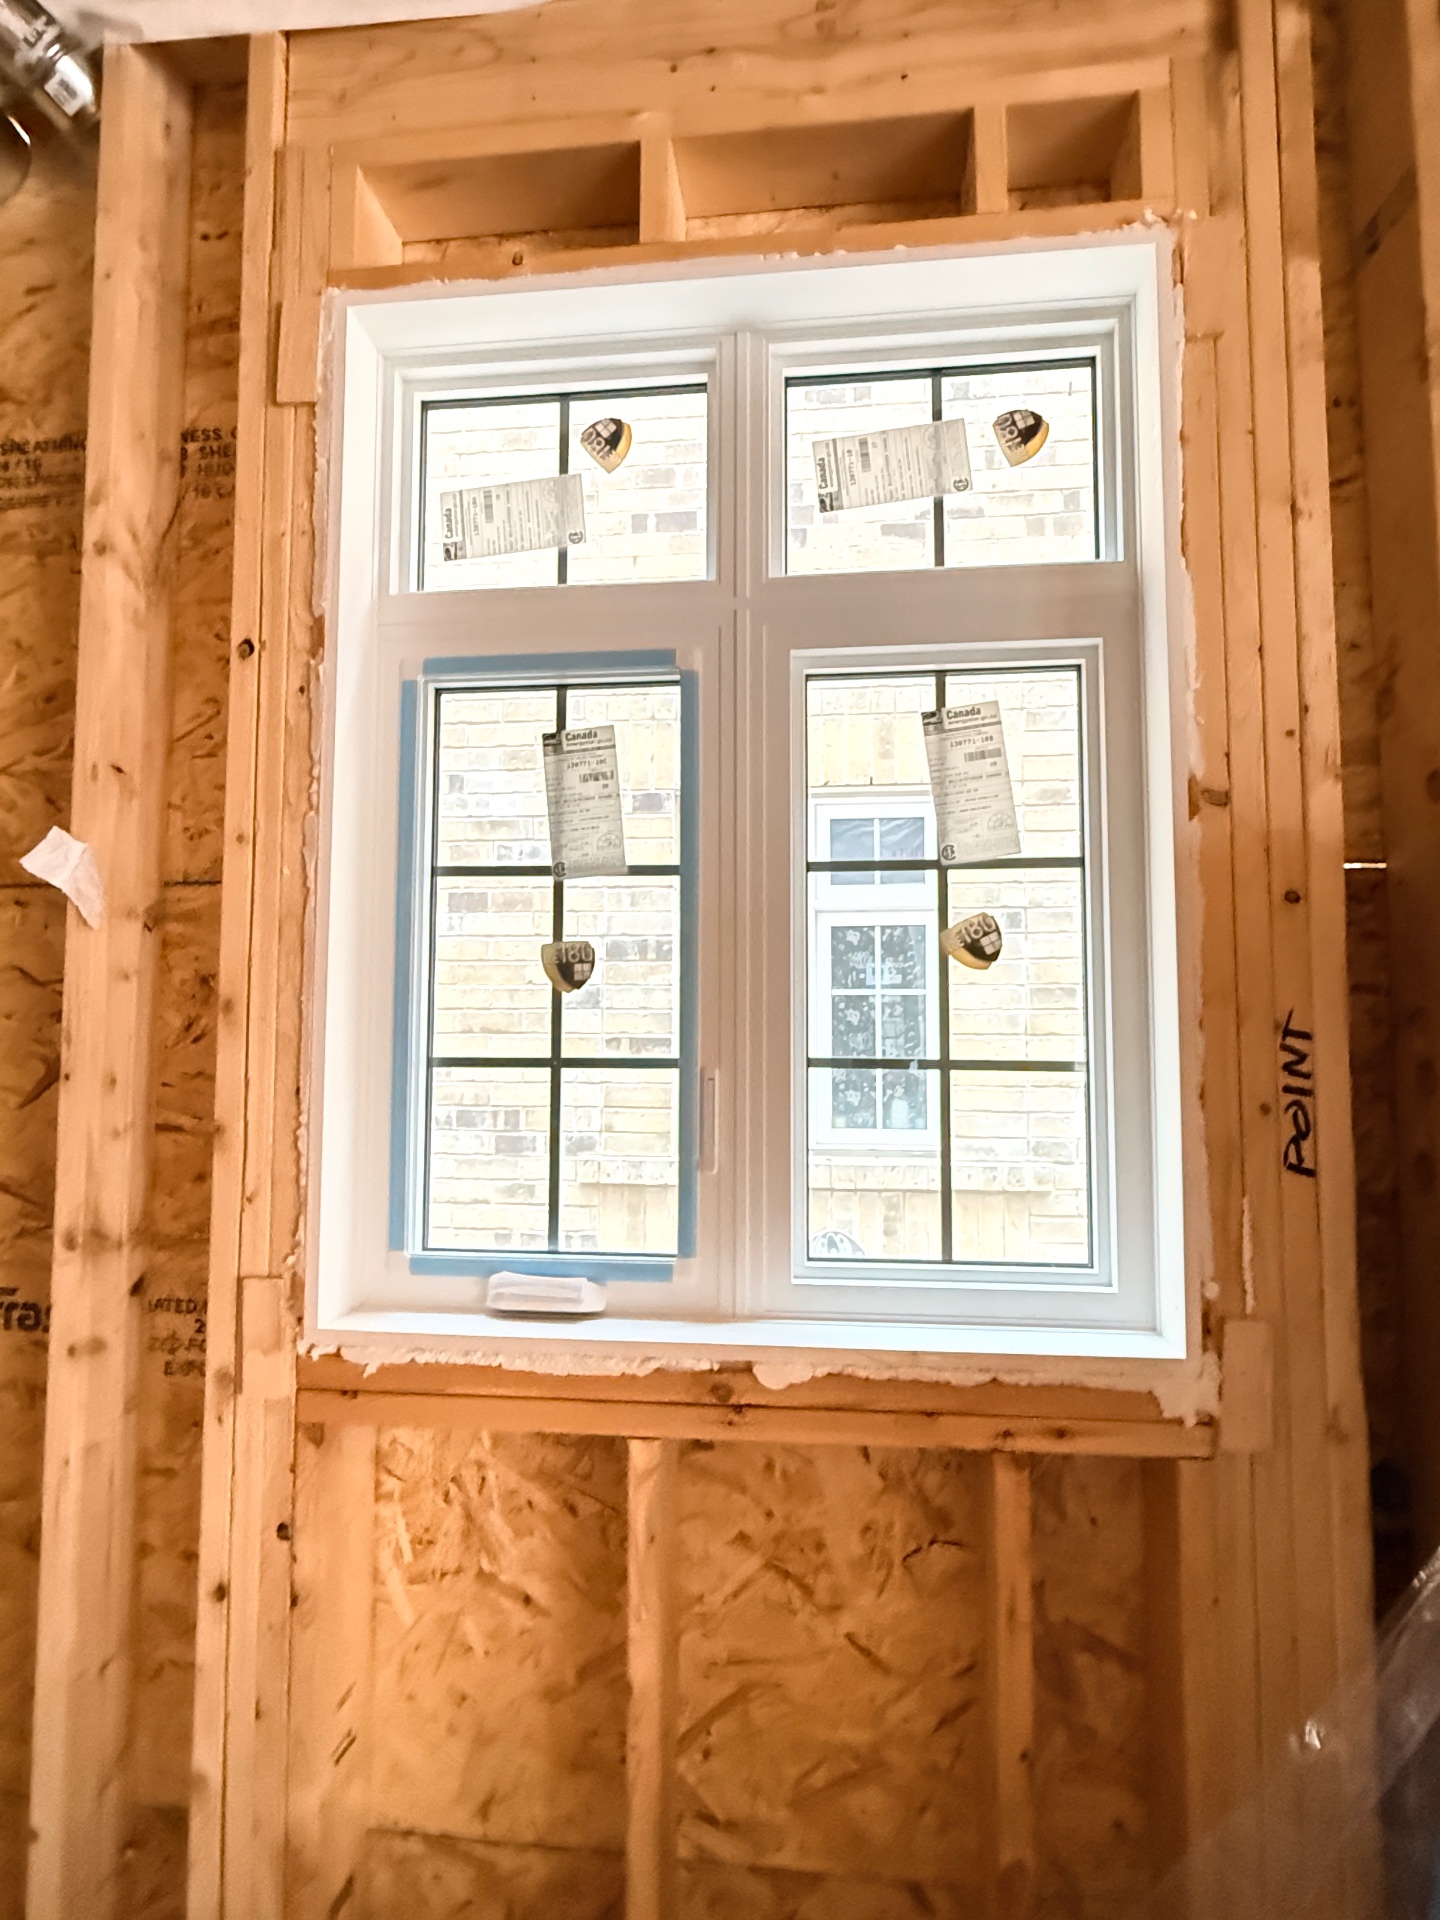
- Full Removal — The crew strips out the brickmould, window frame, interior casing, and jamb extension entirely, exposing the rough opening down to bare studs and brick.
- Cleaning and Moisture Protection — The exposed studs between the brick and drywall are vacuumed clean, old caulking is removed from the brick face, and a blue-skin waterproof membrane is applied around the full perimeter — this is what protects the wall assembly from water intrusion long after the visible finishing is complete.
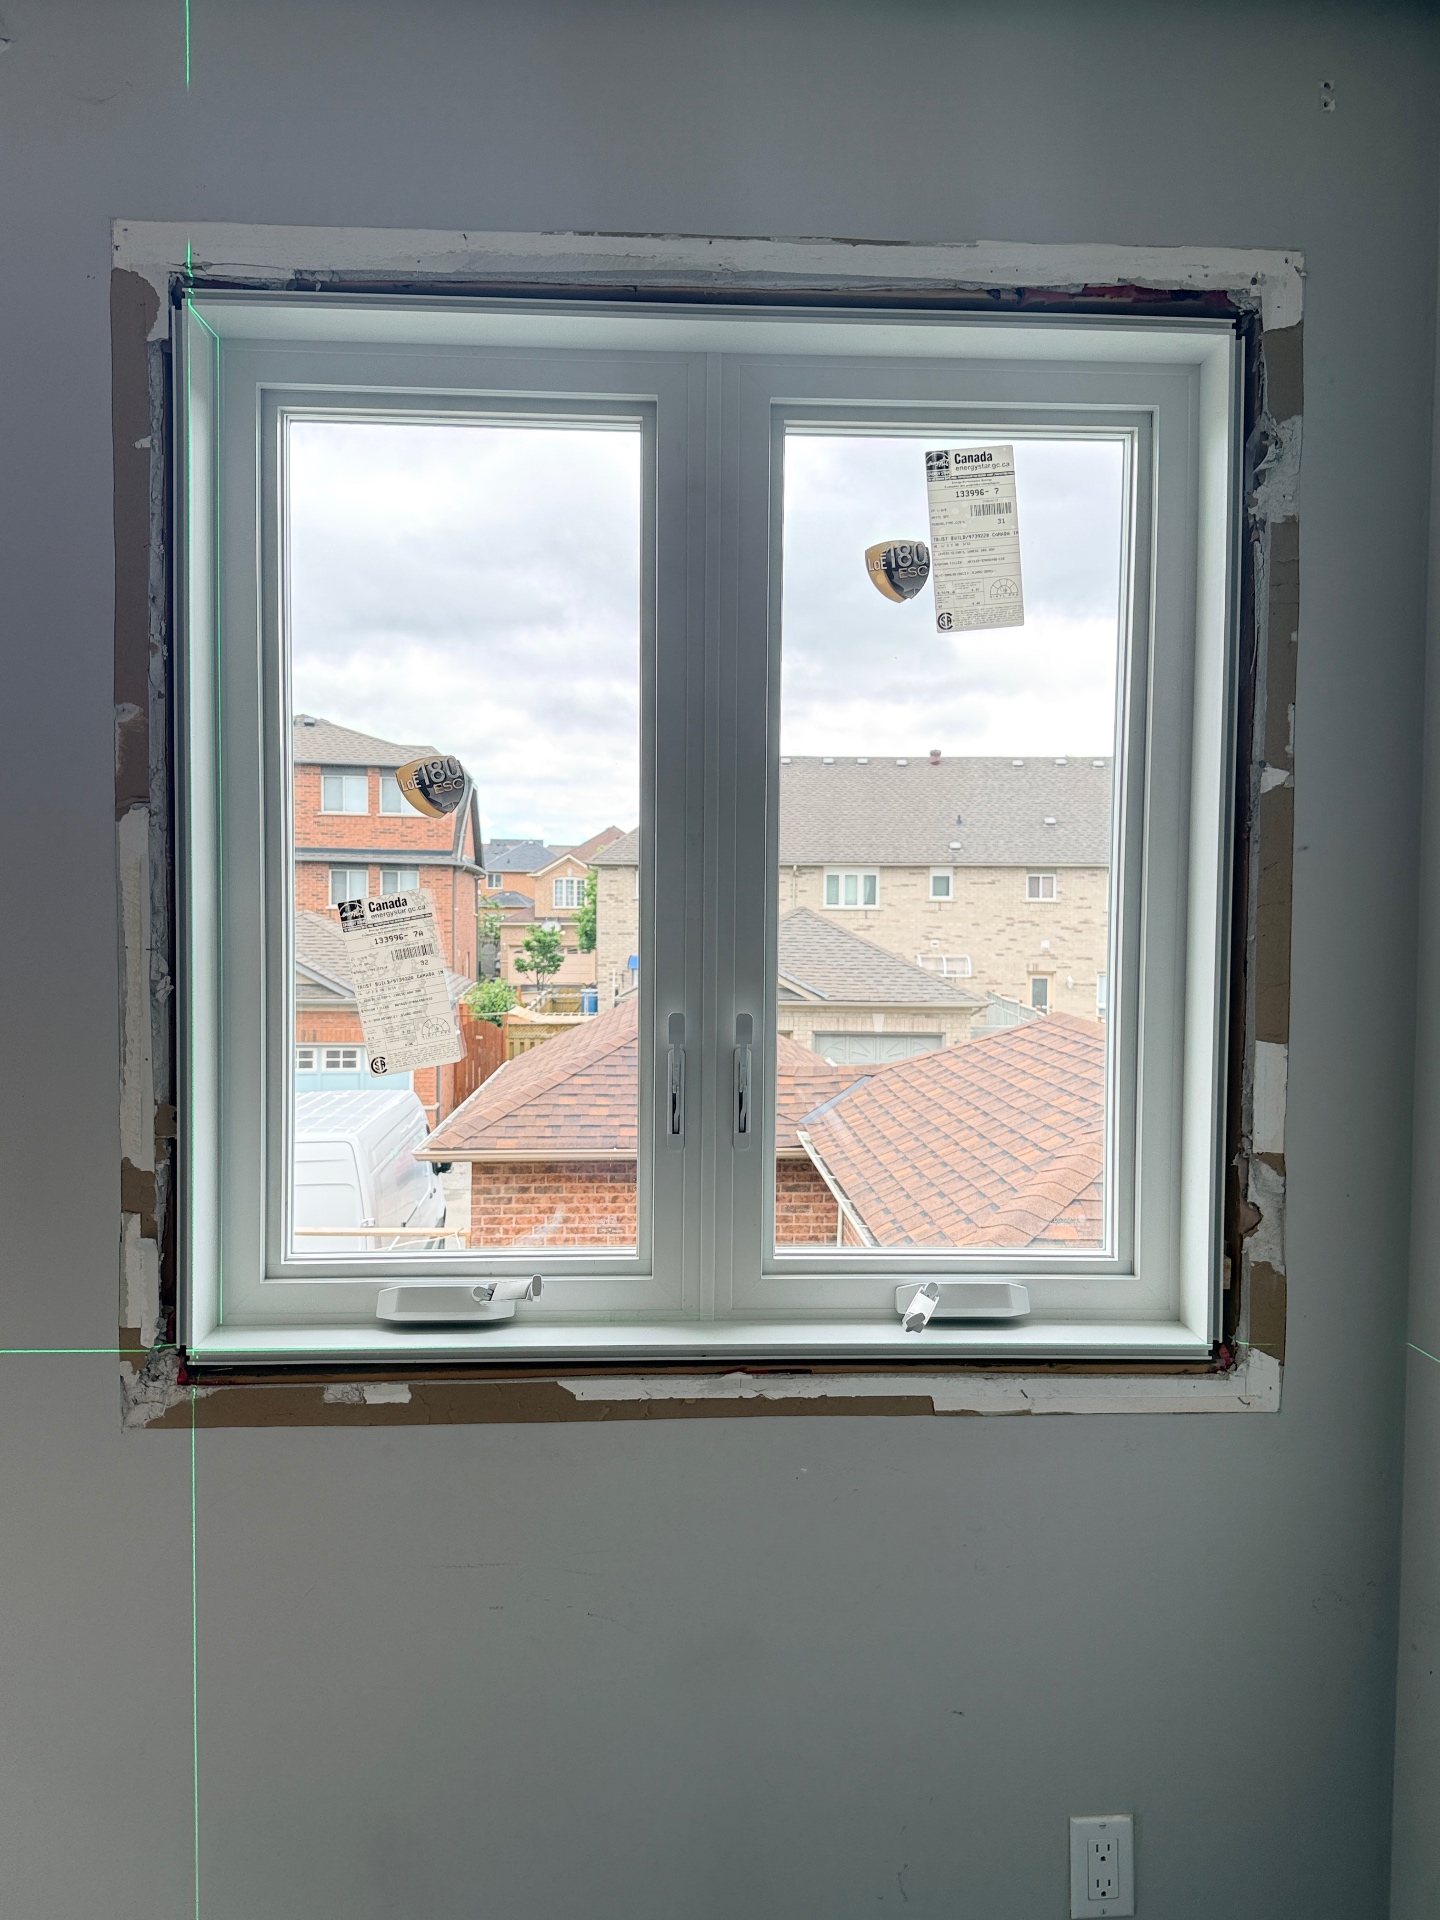
- Setting the New Window — The new window, typically arriving with brickmould already attached, is centered in the opening and shimmed level at the bottom corners. Shimming matters more than it sounds — it's what keeps the frame perfectly square during installation, since even a slightly out-of-level frame can cause the sash to drag or seal unevenly for years afterward. Once level, the window is anchored securely into the studs.
- Insulating the Frame — Low-expansion spray foam fills the gap between the frame and the studs. Once cured, red construction tape seals and protects the foam-insulated areas — a small step that's easy to skip but prevents the foam from degrading or shifting over time.
- Finishing Inside and Out — Interior: new casing is installed around the window, completing the trim from scratch. Exterior: caulking is applied around the brickmould to seal the perimeter and finish the masonry transition cleanly.
Why homeowners choose this method
- Maximum energy efficiency — full insulation between the window and wall, not partial coverage around an existing frame
- The right call when the old frame is damaged or rotted — there's no reasonable way to work around compromised material
- A completely fresh look, inside and out — no visible mismatch between new glass and aging surrounding trim
- The most common full-frame method — it's the industry-standard term most contractors and homeowners use interchangeably with "full-frame replacement"
When to consider a different method instead
If your existing interior trim is custom millwork or high-value wood casing you'd rather not lose, hybrid installation preserves that while still upgrading the exterior frame. And if you're specifically dealing with rot or water damage that needs to be assessed down to the studs before deciding on scope, our stud-to-stud breakdown covers that structural assessment side in more depth.
Get a quote
Trust Build Windows and Doors has served more than 8,700 Ontario homes since 2016, with all installation handled by our own expert crews — never subcontractors.
Get a free quote: request a quote online.
Or reach us at hello@trustbuildwindows.com · 1-800-563-1273 · 416-751-5581
Trust Build Windows and Doors — 1950 Hwy 7, Building C, Unit 1B, Concord, Ontario L4K 3P2. Proudly serving Ontario homeowners.