When a window frame has genuinely failed — not just aged, but rotted, water-damaged, or structurally compromised — no amount of resealing or partial replacement actually solves the problem. Stud-to-stud installation is the method built for exactly that situation: it removes everything down to the bare wall studs and rebuilds from there, rather than working around whatever's left of the old frame.
What makes this different from other replacement methods
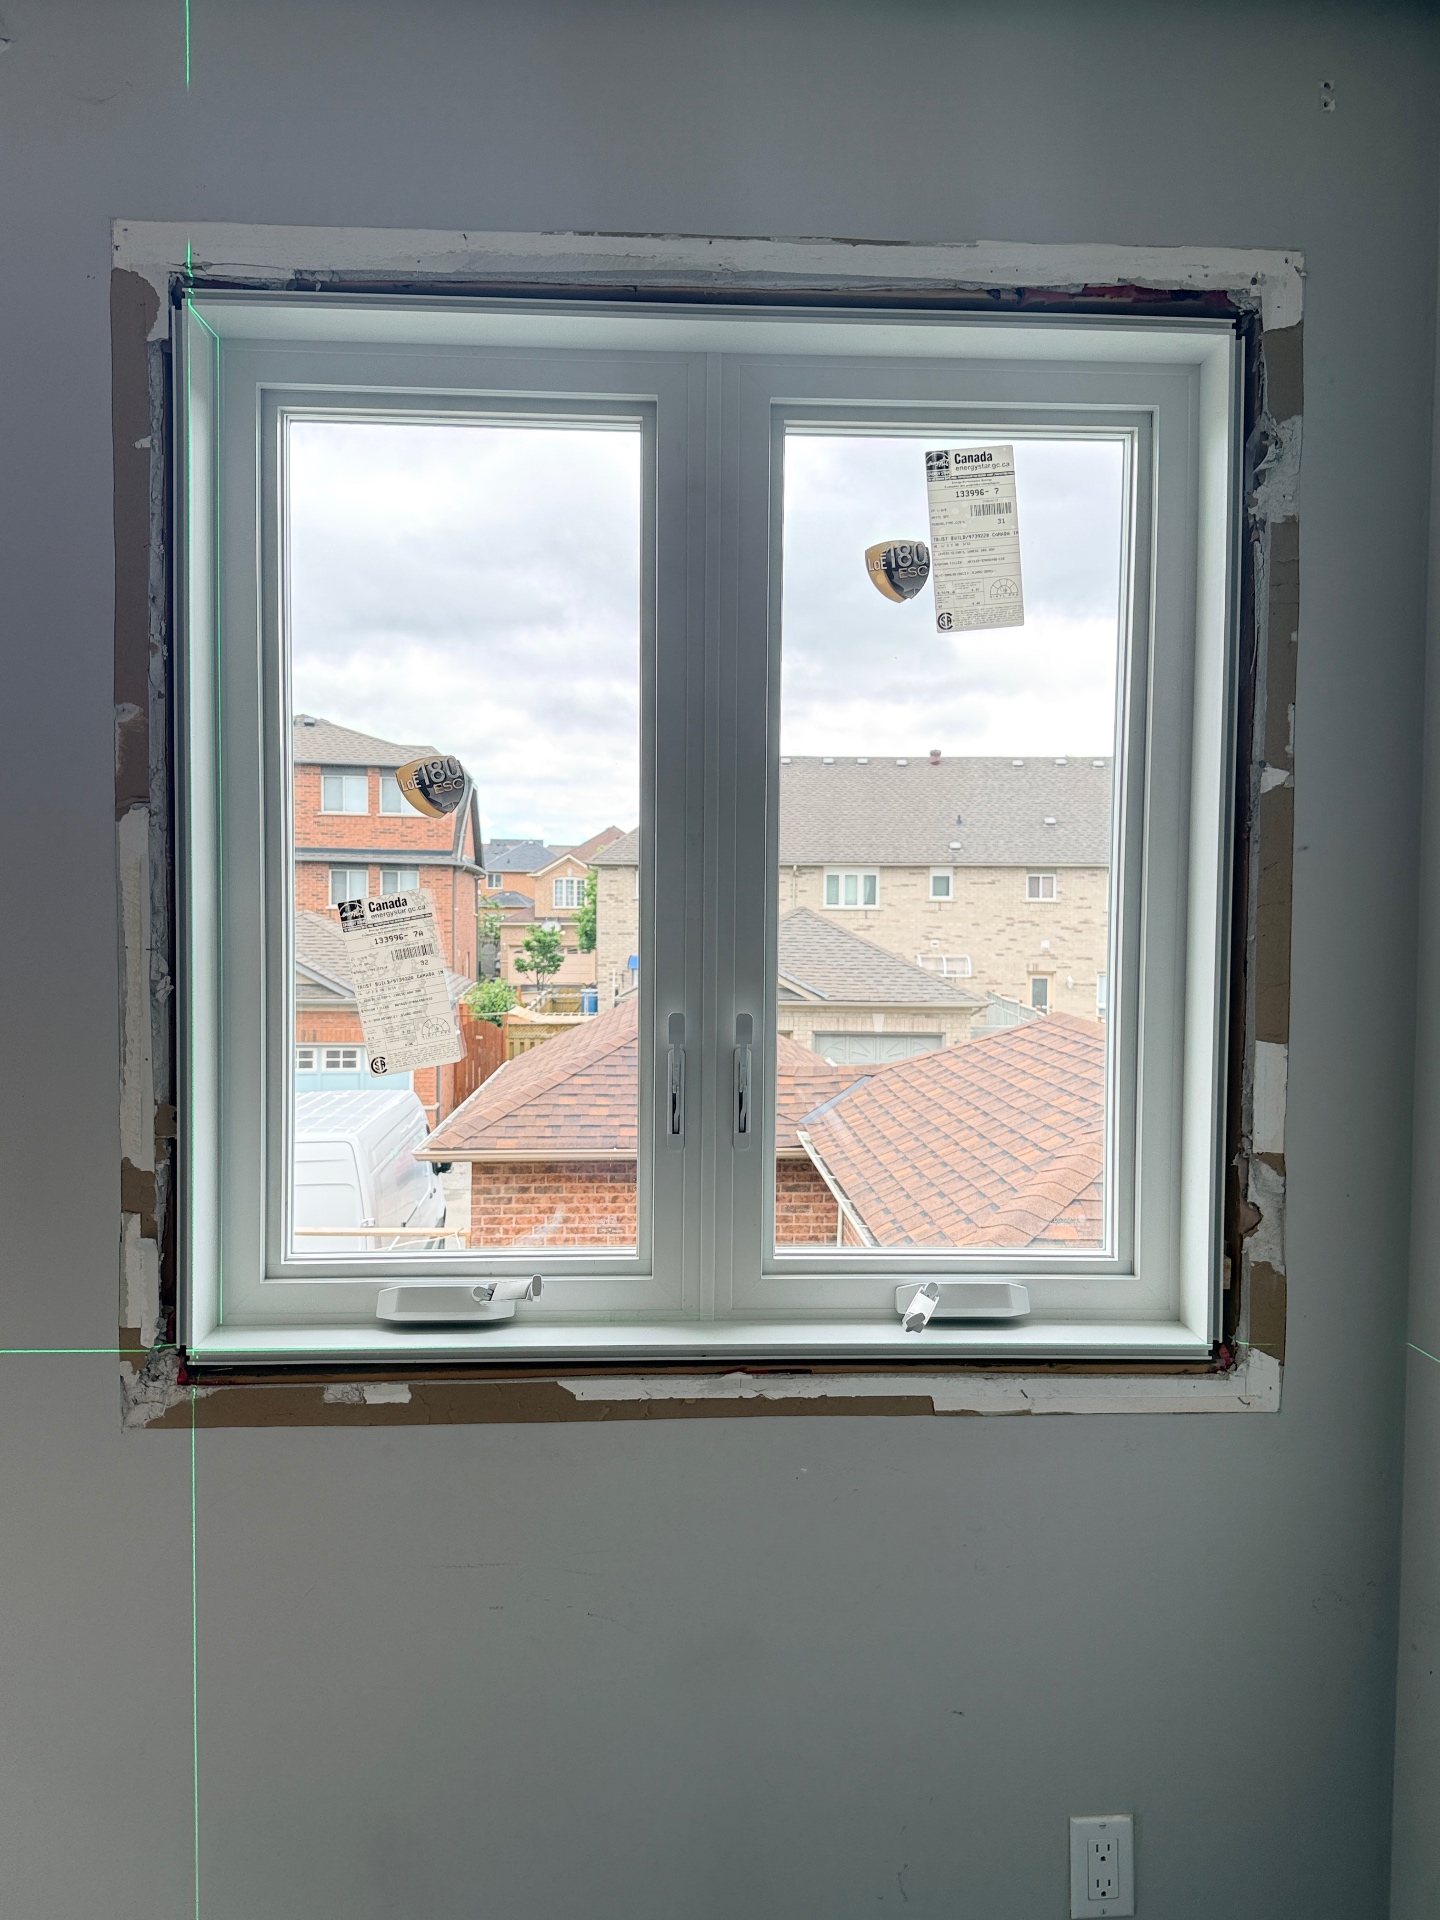
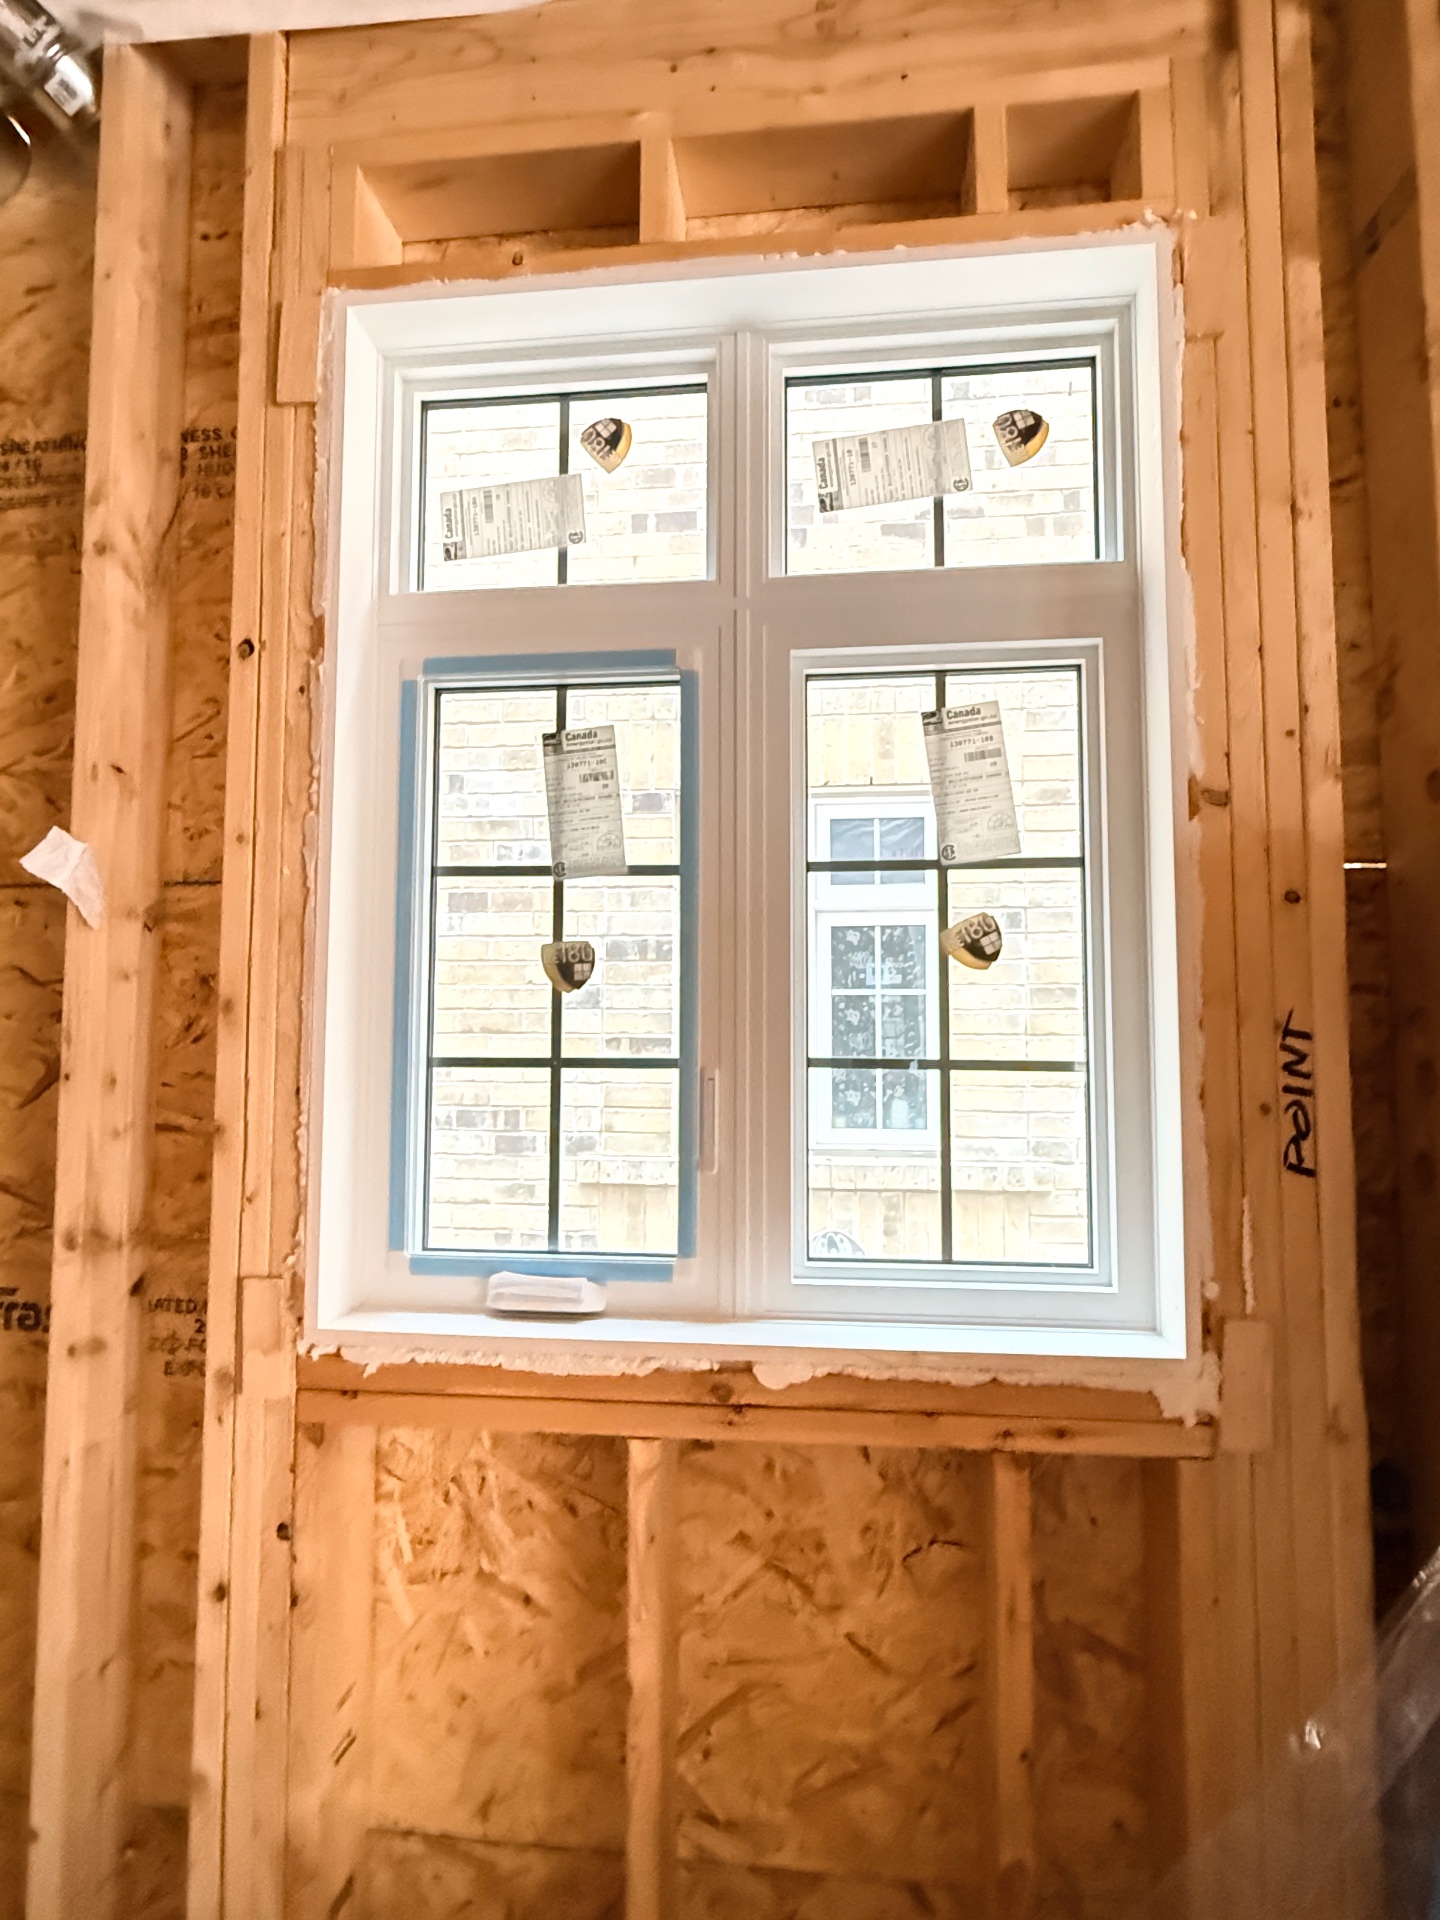
The name describes it accurately: the installation goes from stud to stud, meaning every part of the old window system comes out — brickmould, frame, jamb extension, and interior casing — leaving a completely open cavity between the exterior wall surface and the interior drywall. Nothing from the original window remains once this step is done.
This is meaningfully more invasive than a retrofit (which keeps the old frame in place) or even hybrid installation (which preserves the interior side). Stud-to-stud is the option for situations where the frame itself is part of the problem, not just the glass or the seal around it.
The full process, step by step
- Complete Removal — Every component comes out — exterior brickmould, the window frame itself, the interior jamb extension, and the interior casing — exposing the full cavity between the exterior brick or siding and the interior drywall. This is the step that reveals whether there's hidden rot or damage that wouldn't have been visible with the old window still in place.
- Cleaning and Waterproofing Prep — The exposed studs get vacuumed clean so insulation and sealants can actually adhere properly, old caulking is stripped from the surrounding brick or siding, and a blue-skin waterproof membrane is applied and sealed around the opening — this membrane is what protects the wall assembly from moisture long after the visible finishing work is done.
- Setting the New Window — The new window, typically supplied without attached brickmould, is centered in the now-open cavity, shimmed level at the bottom corners, and screwed directly into the studs — a more structurally solid mounting than fastening into an existing frame.
- Insulating from Both Sides — This is where stud-to-stud earns its main advantage: low-expansion spray foam is applied from both the interior and exterior between the frame and the studs. Full-cavity insulation from both directions isn't possible with methods that leave part of the old structure in place — it's one of the clearest reasons to choose this method when energy performance is the priority.
- Exterior Finishing — The gap between the new frame and the brick or siding is measured, custom aluminum capping is bent to fit that exact measurement, and colour-matched exterior caulking seals the installation against moisture intrusion.
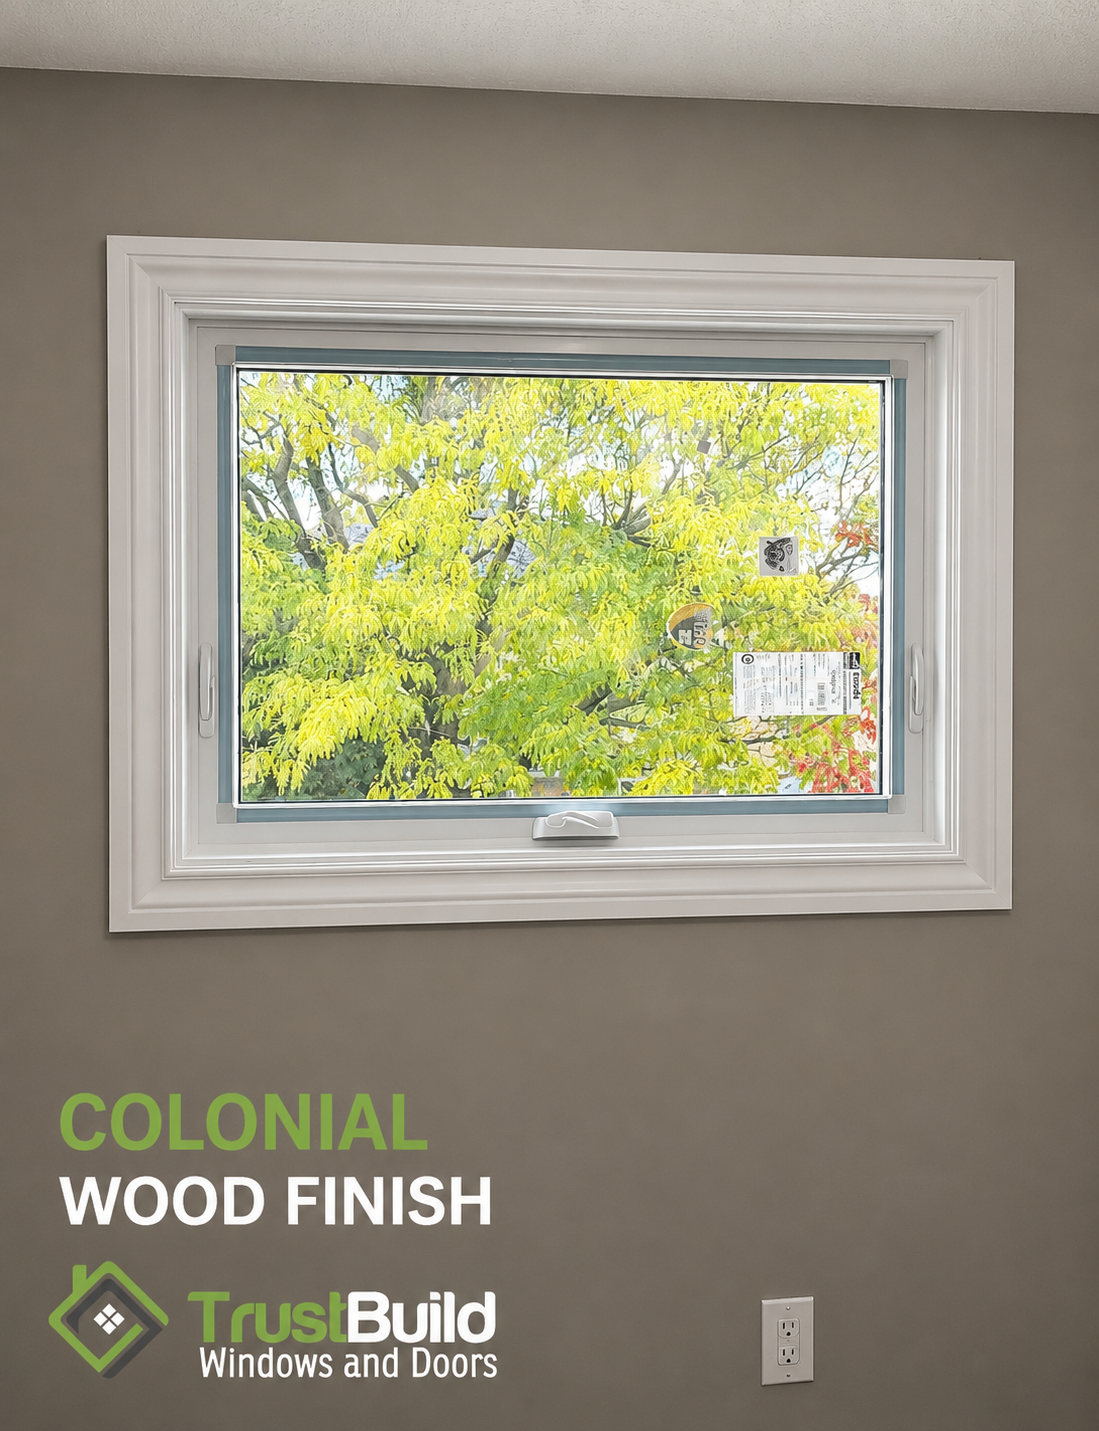
- Interior Finishing — Red construction tape seals and protects the insulating foam inside the wall cavity, entirely new interior trim is installed (since the original casing was removed in step one), and final interior caulking completes a clean, professional finish.
When this is genuinely the right call
Stud-to-stud makes sense when:
- The existing frame shows rot, water damage, or structural deterioration — not just cosmetic wear
- You want complete insulation coverage on both the interior and exterior side of the frame, not just wherever access allows
- Maximizing energy efficiency matters more than minimizing cost or disruption
- You're comfortable with a full interior finish refresh, since the original casing won't be reusable
When it might be more than you actually need
If your existing frame is structurally sound and the issue is really about the glass, the seal, or dated aesthetics, stud-to-stud is likely more invasive and costly than necessary. Hybrid installation or a standard retrofit approach can solve those problems without the full interior disruption this method involves. The right call really comes down to what's actually wrong with the window you have now, not just how old it is.
Get a quote
Trust Build Windows and Doors has served more than 8,700 Ontario homes since 2016, with all installation handled by our own expert crews — never subcontractors.
Get a free quote: request a quote online.
Or reach us at hello@trustbuildwindows.com · 1-800-563-1273 · 416-751-5581
Trust Build Windows and Doors — 1950 Hwy 7, Building C, Unit 1B, Concord, Ontario L4K 3P2. Proudly serving Ontario homeowners.